We are going to start a series of posts about Web-Designing of motion objects with Flash tool.
Although this is proprietary, Macromedia (bought by Adobe on december 2005) always have made quality tools in Web Development area. Adobe is making a good continuity.
Personalize the framework
First of all we show you the framework aspect:
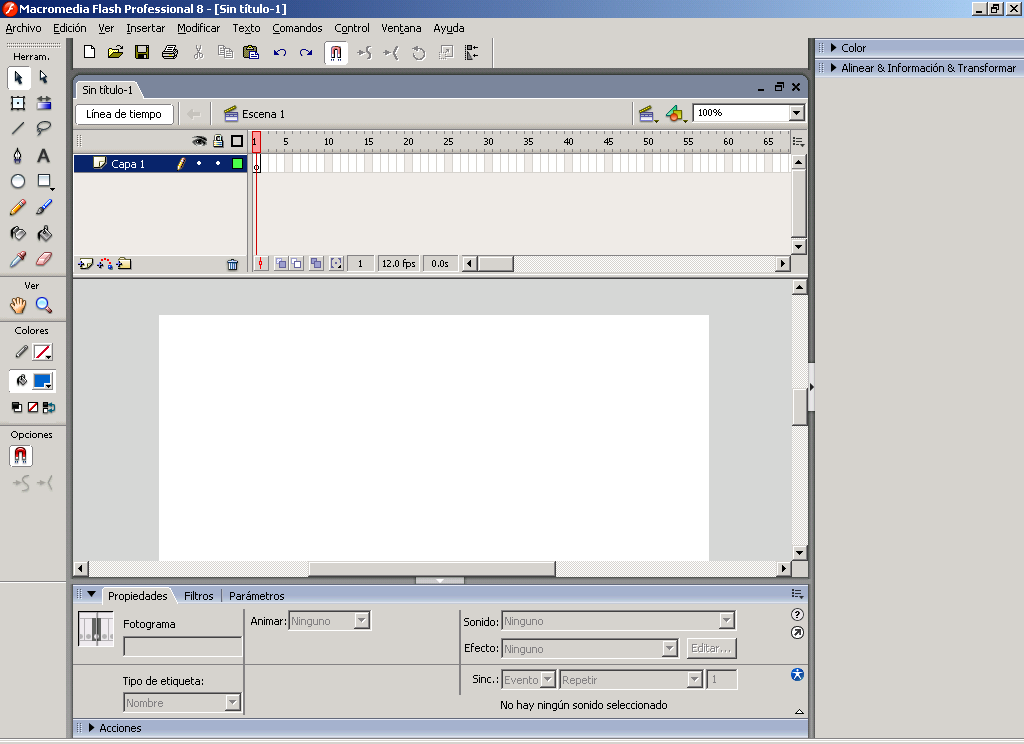
We can personalize the framework placing tool bars up-down-right-left sides. Tool bars are selected in Windows menu. Then you can personalize all your framework. To group in the same window various tabs:
We can do the following steps:
- Right button over the header of the window –> “Group window with…”.
Some useful hotkeys in the frame:
- Space: Hand to move the canvas
- ctrl.+space: magnify +
- ctrl.+space+alt: away –
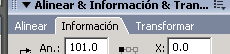
We can see the scene properties over the canvas pushing the right button mouse:
Here we can see two important values as dimensions of the viewing part and speed (fps, frames per second).
Colour
The tool bar from other image edit applications, wich contains pencil, pen, selectopr, cutting, …. We can ephasize:
- Flash figures are composed by line and filling, and you can select the colour in its sub-menu.
- Pushing Mayus fix the oval form to circle.
- One clic over the figure select line or filling. Double clic selects all.

We can see various examples line-filling in the following flash (source):
To degrade the colour we can use the Color tool, wich allows more capabilities with the colour: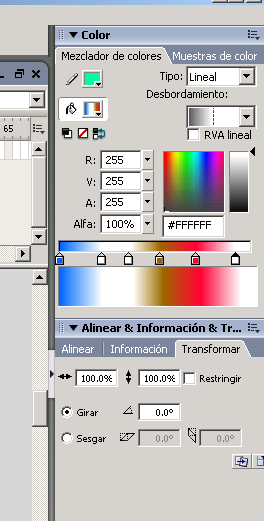 We can get this window in the menu: Windows –> Color mixer.We can see a degrade exple in the following file (download source):
Generating the binaries
For a quickly show, the hotkey: ctrl.+intro. Creates the .swf extension file, and execute it.
Or manage all proccess from File menu, you can manage generated files. You can generate HTM code to insert in a web page.